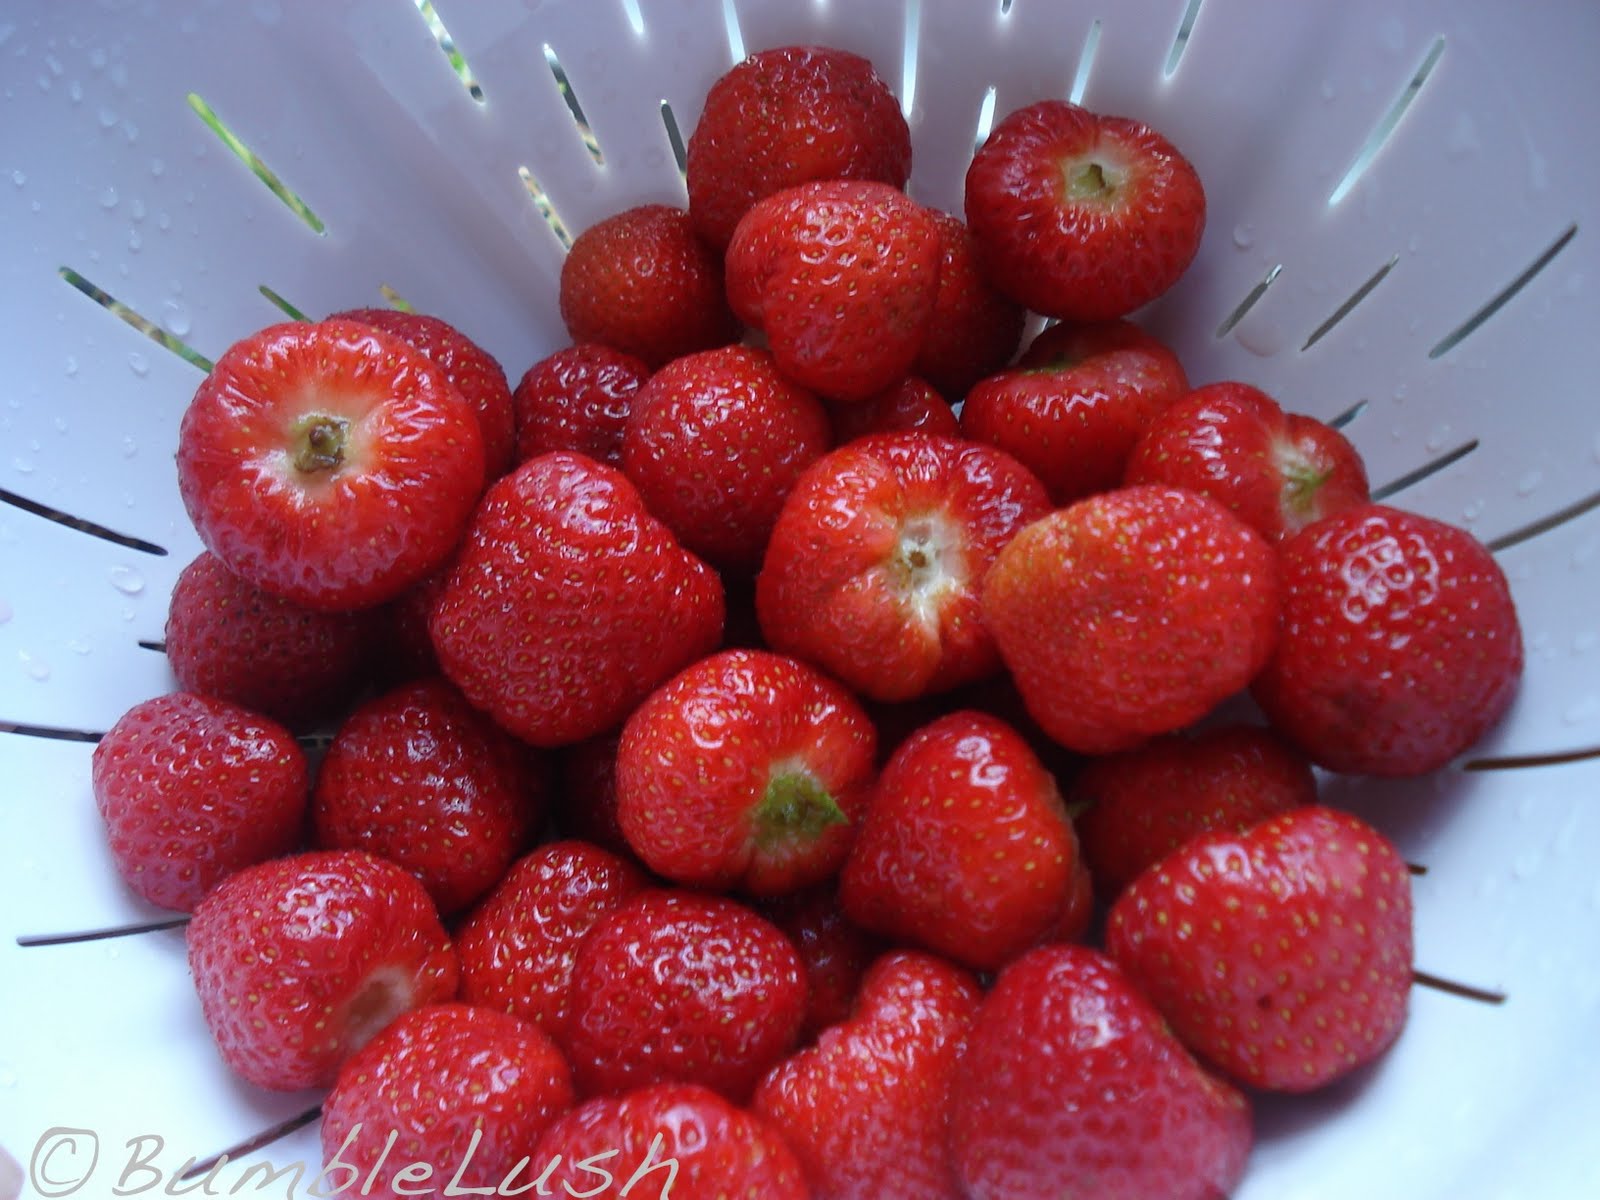
The excitement you feel from knowing you just
picked your own in-season, farm-fresh fruit can quickly dissipate when you bring it all home and see it in the harsh light of your kitchen. Picker's remorse sets in. What to do with eighteen pounds of strawberries lying around the kitchen? Freeze 'em!
We've never frozen fresh fruit before, so I searched the internet for proper techniques, and predictably, found some conflicting directions. Do I leave the caps on or remove them before freezing? In the end, I decided to follow
these directions which say to hull/remove the green caps on strawberries before freezing. I chose this option because it seems more convenient--I'll do all the work upfront and when I'm ready to use the berries, they'll be ready to go after I defrost them.
How to freeze strawberries (and what I learned):
1.
Wash strawberries carefully. Strawberries are delicate.They bruise and squish easily, so take care not to poke the flesh when washing. Of course, if they do squish, feel free to eat and enjoy that fresh-picked berry.
2.
Let the berries drain (about 10-15 minutes) and remove the caps (aka, hull the berries). I've seen fancy hulling gadgets in the stores that look like tweezers, but I just use a plain old paring knife to pop the stem out. Again, take care not to pierce the flesh, or you'll have to eat that juicy berry right then and there.
3.
Once strawberries are drained, spread them on a baking sheet or pan. Berries should be in one layer and not overlapping to prevent them from sticking together in the freezer.
Note 1: Use whatever flat dish you have. I have a side-by-side refrigerator/freezer, and the freezer door wouldn't close because the baking sheets stuck out. I had to improvise. I used glass Pyrex dishes and pie pans.
Note 2: Put wax paper down on any glass surface before you spread the strawberries out or they will stick
very firmly to the glass and it will be difficult to get them off.
 |
| Forgot to add wax paper. That was a mistake. |
4.
Freeze the strawberries. The directions I followed said to let the berries freeze overnight, but mine were frozen solid after about four hours.
 |
| Don't you just want to add whipped cream or chocolate to these? |
5.
Bag the strawberries and return them to the freezer. Remove the strawberries from the pans and place in freezer bags or any other container used for holding frozen food. We filled five one-gallon size Ziplock freezer bags. The directions I followed also said to label and date the bags, but you'll see that I didn't do that because I can tell they're strawberries and I froze them all over Memorial Day weekend. If I do this again before this original batch runs out, of course I would write a date on the bag.
Final thoughts:
- The strawberries at the bottom of the flats got a little squishy from the weight of the other berries. We didn't freeze those; we'll just eat them as they are. This is a good reminder for the next time I go picking though: be careful about the weight piling on top of the berries at the bottom of the container.
- My friends sliced up the berries before they froze them. I didn't do that, but I don't see why you couldn't.
- The purpose of freezing these berries was to have a plethora of farm-fresh berries to enjoy over the winter. After going through all this work, it'll probably be winter before I'm ready to look at another strawberry again. I wonder how long all these will last? I guess it'll depend on what I use them for. Now I just need to find some interesting recipes.
Do you have any tips/techniques you'd like to share for freezing or generally preserving fruit or vegetables picked from the garden?